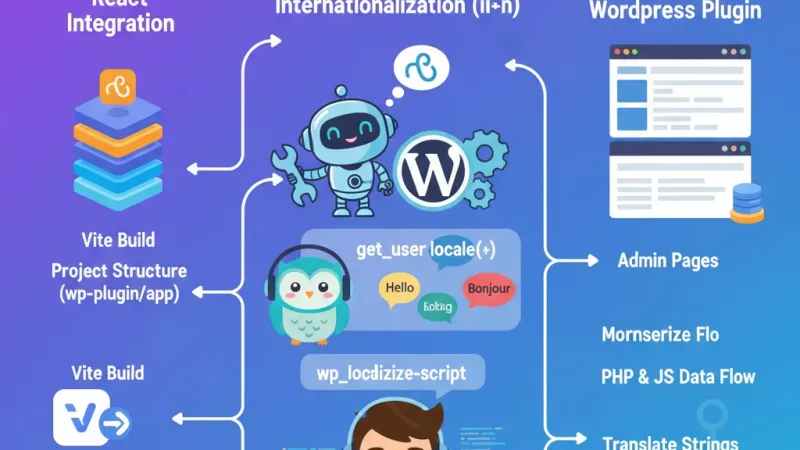
在开发 WordPress 插件时,如何结合现代前端框架和多语言支持?本文分享我在开发 ImaGenius 插件过程中的实践经验,涵盖 React 集成、国际化实现和开发工具链配置。
一、在 WordPress 插件中集成 React
1.1 项目结构设计
plaintext
12345678
wp-plugin/
├── wp-plugin.php           # 插件主文件
├── includes/               # PHP 后端逻辑
├── admin/                  # 管理页面
├── app/                    # React 前端项目
│   ├── src/
│   └── package.json
└── dist/ # 构建产物关键点:将 React 项目独立到 app 目录,构建后输出到 dist 目录。
1.2 Vite 构建配置
使用 Vite 构建 React 应用,关键配置:
typescript
12345678910
// vite.config.ts
export default defineConfig({
  build: {
    outDir: '../dist',
    manifest: true,
    rollupOptions: {
      input: './index.html',
    },
  },
});优势:
- 快速的开发体验
- 自动生成 manifest.json 用于资源映射
- 支持代码分割和优化
1.3 PHP 加载 React 资源
php
123456789101112131415161718192021
private function enqueue_assets() {
    $manifest_path = PLUGIN_PATH . 'dist/.vite/manifest.json';
    $manifest = json_decode(file_get_contents($manifest_path), true);
    $entry = $manifest['index.html'];

    // 加载 CSS
    foreach ($entry['css'] as $css_file) {
        wp_enqueue_style('plugin-app', PLUGIN_URL . 'dist/' . $css_file);
    }

    // 加载 JS
    wp_enqueue_script('plugin-app', PLUGIN_URL . 'dist/' . $entry['file']);

    // 添加 type="module"
    add_filter('script_loader_tag', function($tag, $handle) {
        if ($handle === 'plugin-app') {
            return str_replace(' src', ' type="module" src', $tag);
        }
        return $tag;
    }, 10, 2);
}关键技巧:
- 读取 manifest.json 获取实际文件名(包含哈希)
- 为 script 标签添加
type="module"属性 - 通过
wp_localize_script传递配置到前端
1.4 PHP 与 React 数据交互
php
1234567
// 注入配置到前端
wp_localize_script('plugin-app', 'wpApiSettings', [
    'root' => esc_url_raw(rest_url()),
    'nonce' => wp_create_nonce('wp_rest'),
    'config' => $config,
    'locale' => get_user_locale()
]);
React 端接收:
typescript
1234567891011
// 从全局变量获取配置
const config = window.wpApiSettings.config;
const apiRoot = window.wpApiSettings.root;
const nonce = window.wpApiSettings.nonce;

// 调用 WordPress REST API
fetch(`${apiRoot}plugin/v1/endpoint`, {
    headers: {
        'X-WP-Nonce': nonce,
    },
});
二、WordPress 插件国际化实现
2.1 架构设计
双层国际化策略:
- PHP 后端:使用 WordPress 原生翻译函数
- React 前端:使用 i18next
2.2 前端国际化 - i18next 配置
安装依赖
bash
1
bun add i18next react-i18next语言文件结构
plaintext
123
app/src/locales/
├── en.json     # 英文
└── zh.json     # 中文
i18n 初始化
typescript
123456789101112131415161718192021222324252627282930313233
// lib/i18n.ts
import i18n from 'i18next';
import { initReactI18next } from 'react-i18next';
import en from './locales/en.json';
import zh from './locales/zh.json';

function getWordPressLocale(): string {
    const wpLocale = window.wpApiSettings?.locale || 'en_US';

    const localeMap: Record<string, string> = {
        en_US: 'en',
        zh_CN: 'zh-CN',
        zh_TW: 'zh-TW',
    };

    return localeMap[wpLocale] || 'en';
}

i18n
    .use(initReactI18next)
    .init({
        resources: {
            en: { translation: en },
            zh: { translation: zh },
        },
        lng: getWordPressLocale(),
        fallbackLng: 'en',
        interpolation: {
            escapeValue: false,
        },
    });

export default i18n;核心思路:从 WordPress 获取用户语言设置,映射到 i18next 语言代码。
在组件中使用
typescript
123456789101112
import { useTranslation } from 'react-i18next';

function MyComponent() {
    const { t } = useTranslation();

    return (
        <div>
            <h1>{t('common.title')}</h1>
            <p>{t('common.description')}</p>
        </div>
    );
}
2.3 PHP 后端国际化
使用翻译函数
php
123456789
// 简单文本
__('Settings', 'text-domain');

// 带参数
sprintf(__('Hello %s', 'text-domain'), $name);

// 获取用户语言
get_user_locale();  // 用户个人语言设置
get_locale();       // 网站全局语言设置
加载翻译文件
php
1234567
add_action('plugins_loaded', function() {
    load_plugin_textdomain(
        'text-domain',
        false,
        dirname(plugin_basename(__FILE__)) . '/languages'
    );
});
2.4 关键区别:get_locale() vs get_user_locale()
php
12345
// ❌ 错误:获取网站语言
'locale' => get_locale()

// ✅ 正确:获取用户个人语言
'locale' => get_user_locale()重要:如果要根据用户个人语言偏好切换界面,必须使用 get_user_locale()。
三、开发工具链
3.1 推荐技术栈
- 构建工具:Vite(快速、现代)
- 包管理器:Bun(速度快)
- 前端框架:React + TypeScript
- 国际化:i18next + react-i18next
- 代码检查:Biome(比 ESLint 更快)
3.2 自动化打包脚本
bash
123456789101112131415
#!/bin/bash

# 从插件主文件读取版本号
PLUGIN_VERSION=$(grep "Version:" wp-plugin.php | awk '{print $3}')

# 构建前端
cd app && bun run build && cd ..

# 打包插件
zip -r "plugin-${PLUGIN_VERSION}.zip" \
    wp-plugin.php \
    includes/ \
    admin/ \
    dist/ \
    -x "*.DS_Store"
3.3 卸载清理
创建 uninstall.php 清理数据:
php
12345678910
<?php
if (!defined('WP_UNINSTALL_PLUGIN')) {
    exit;
}

// 删除选项
delete_option('plugin_settings');

// 清理缓存
wp_cache_flush();
四、最佳实践总结
✅ DO
- 使用 Vite manifest 处理资源哈希
- get_user_locale() 获取用户语言
- wp_localize_script 传递配置到前端
- REST API + Nonce 实现安全的前后端交互
- uninstall.php 清理数据
- type=“module” 加载 ES 模块
❌ DON’T
- 不要硬编码文本,全部使用翻译函数
- 不要在前端直接读取 PHP 变量
- 不要忽略 WordPress Nonce 验证
- 不要将源码打包到插件中
五、性能优化技巧
- 代码分割:Vite 自动处理
- 资源压缩:WebP + Gzip
- 浏览器缓存:利用文件哈希
- 按需加载:React.lazy + Suspense
总结
将 React 集成到 WordPress 插件中,结合现代构建工具和国际化方案,可以创建出既符合 WordPress 生态、又拥有出色用户体验的插件。
关键是:
- 前后端分离,各司其职
- 统一的国际化策略
- 自动化的构建和打包流程
希望这些经验对你的 WordPress 插件开发有所帮助!
本文基于实际项目开发经验总结,所有代码片段均经过验证可用。
